
Autor: designmeahome
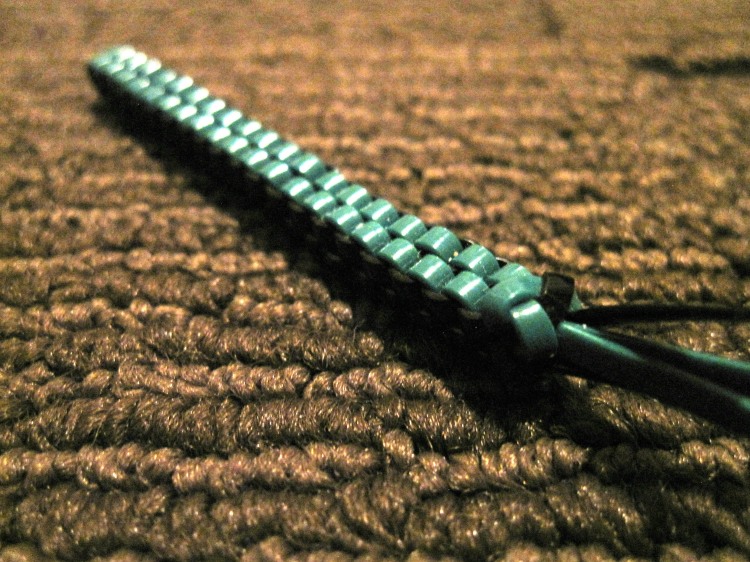
Making Your Lanyard a Keychain
Box stitch with lanyard
If you prefer step by step photo tutorial click on the photo below:)
Braided bracelets tutorial:)
Here is two great tutorials for braided bracelets:
Friendship bracelet: (it’s pretty long but very exact)
DIY Heart Friendship Bracelets:
Origami Convention in New York in 2013

Origami Convent is the opportunity for people to meet and discuss their origami technique.

Apart from all that- It’s really fun:)

All the arrivals ready to get started.

Probably the best part of participating a Convent is the opportunity to make friends and help ahere your knowledge with one another.

Incredible hat decorated with Origami. One of the products of the Convent.
Photos from: http://www.origamispirit.com/2013/06/origami-convention-in-new-york-city-2013/
Origami presentation
Something harder
Well after my adventures with cranes and frogs I decided to go for a cat. But not one of those easy ones- nononononooo. Typically for me I searched for something more effective.
I found this cat on one of the DeviontArt blogs:

Source: orestigami.deviantart.com
And as the author got this from a book I found it and in two hours’ time (I almost gave up in the end) I got something that looks more like… Well let’s say it looks like a cat but it is definitely not good enough to be shown here. Anyways here you have the instructions and the link to this book:


Source: http://pl.scribd.com/doc/62346366/Origami-Tanteidan-Convention-v14
Origami frog
Yesterday I spent some time to try out new origami tutorials and I went for a frog. You can do it in many ways but I wanted to do the two basic ones.
Like this one:
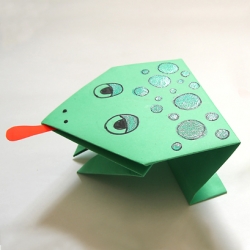
Instructions here: http://www.frogsonice.com/froggy/origami/
And the more effective one:

Source: http://arts-crafts-primary.blogspot.com/2012/06/origami-jumping-frog.html
Step by step tutorial here:
http://en.origami-club.com/fun/jumpingfrog/anime-jumpingfrog/index.html
Hope you enjoy it!
After Origami base I: flapping Crane
The first Origami I did was a crane. I choose it simply because it’s the most popular and probably easier one.
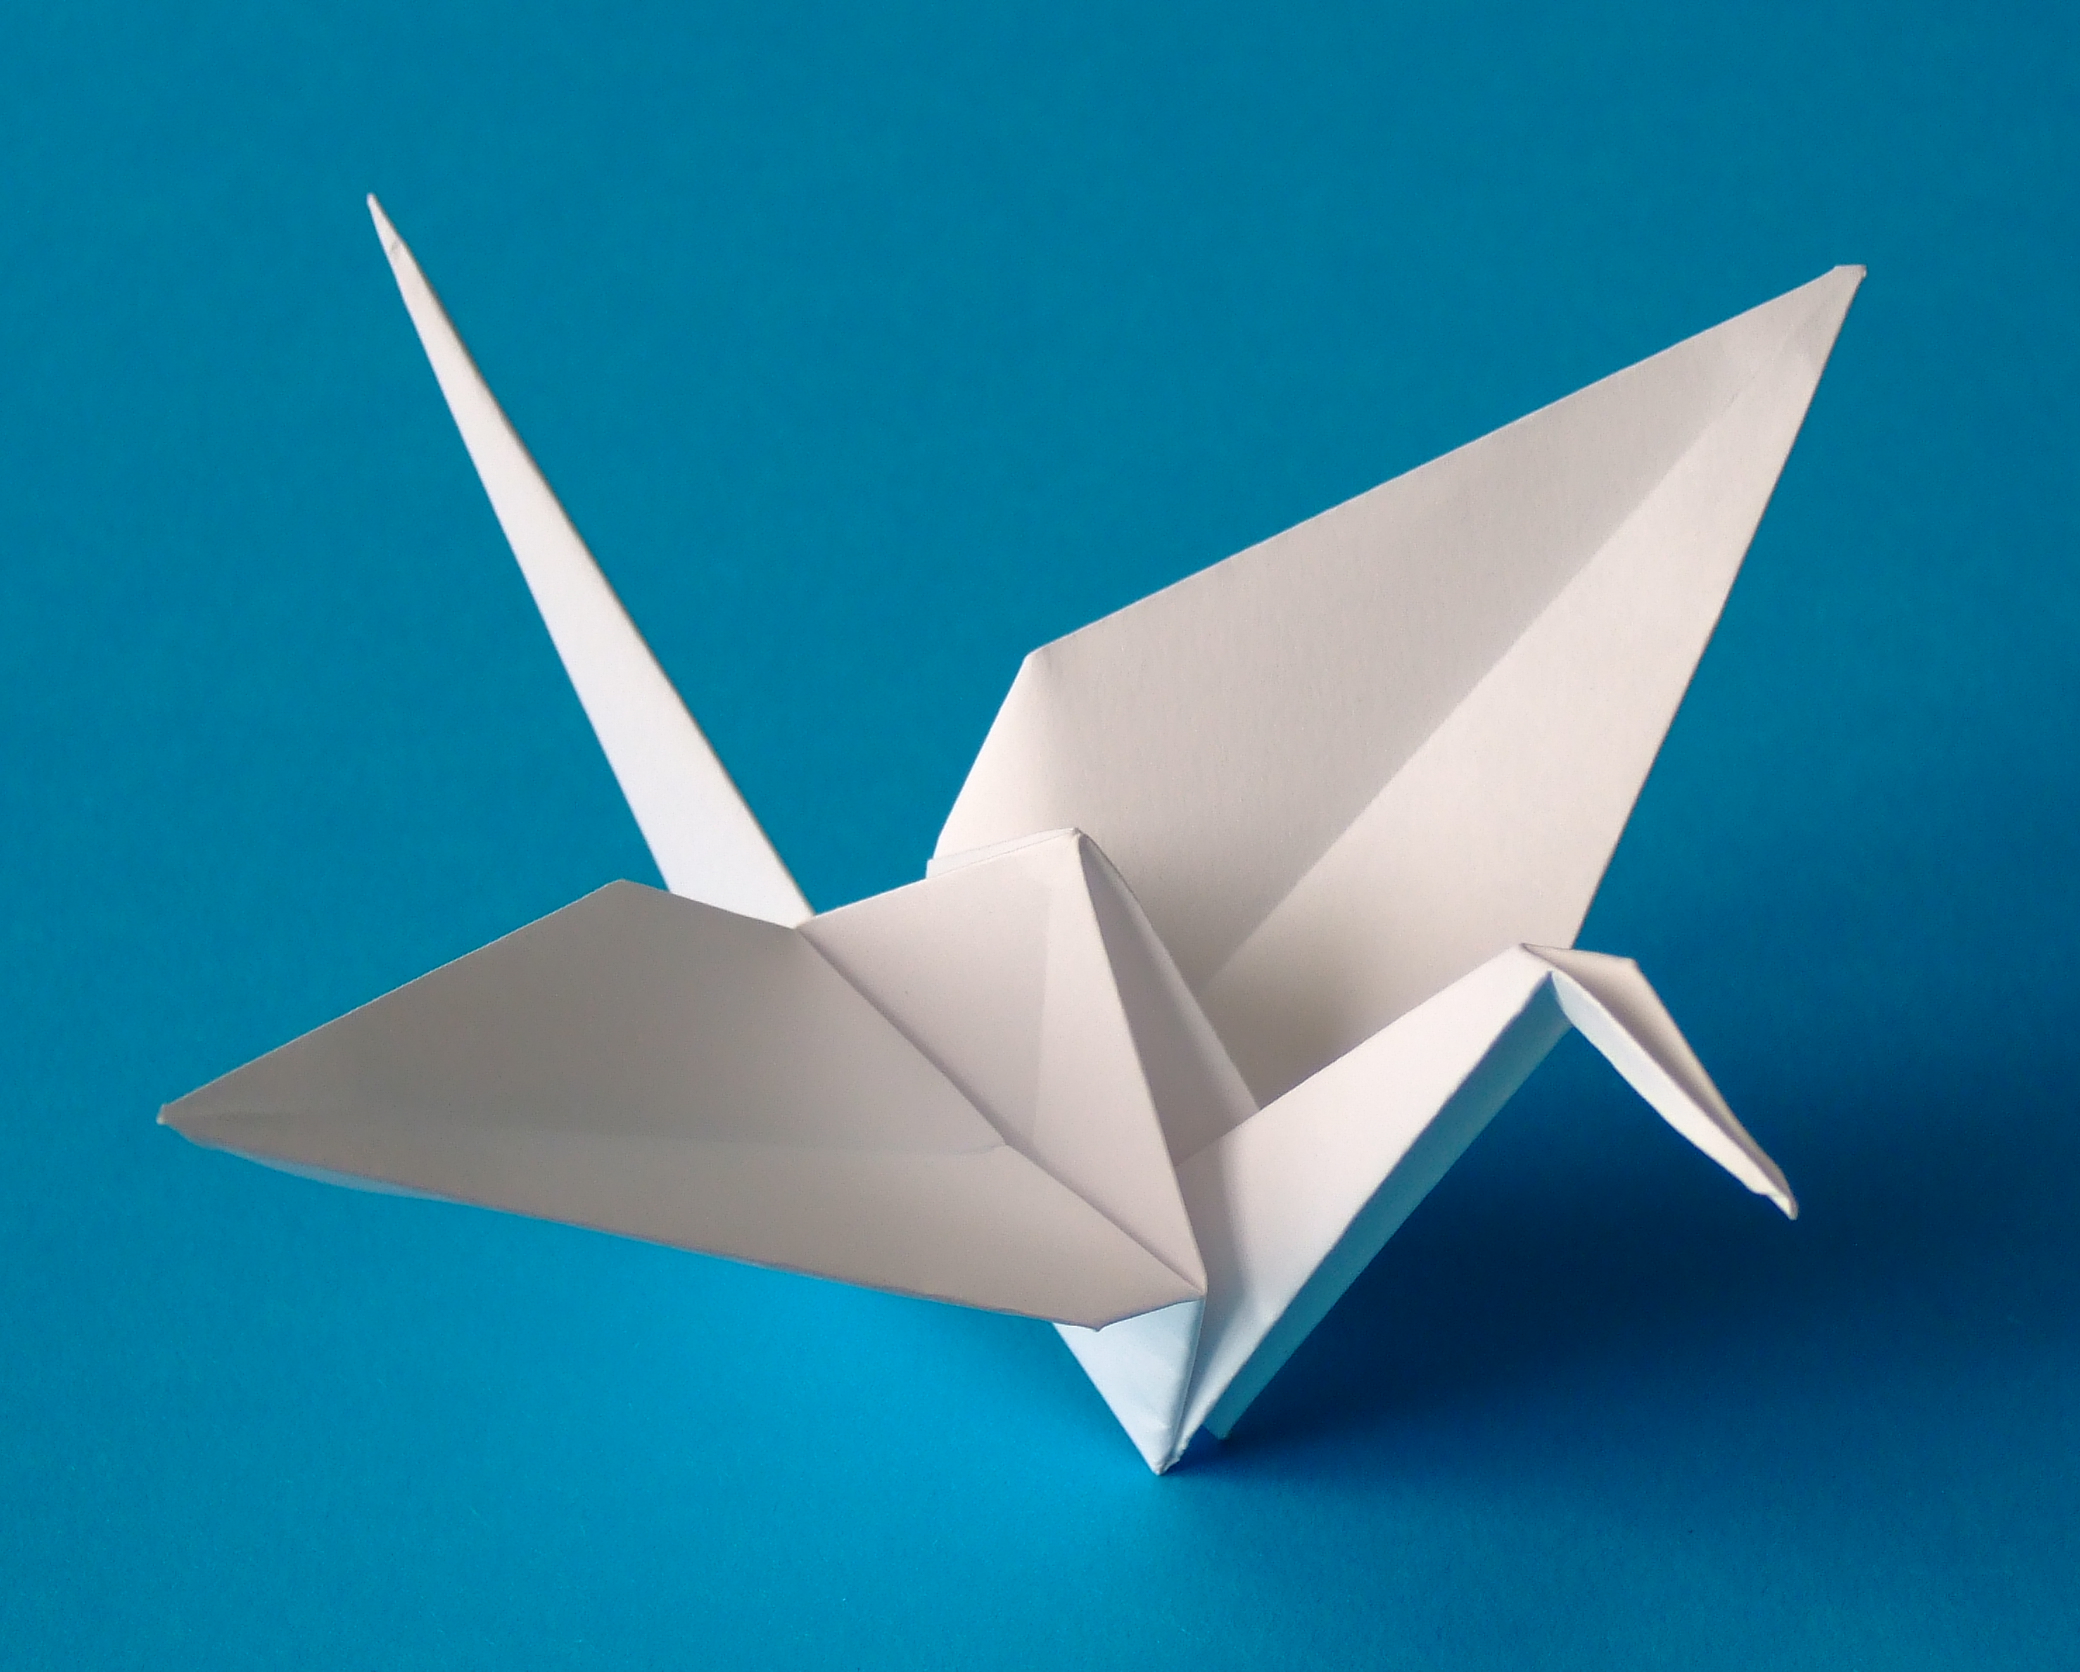
You start with Preliminary fold base and fold it into Bird base, both of which you can find in post here: https://doitysftutorials.wordpress.com/2014/01/21/folding-origami-base/ The best movie tutorial with the instructions how to fold the base here: http://www.youtube.com/watch?v=qpwnHpXUuow I’m not really into YouTube tutorials because I prefer music while I’m working and I don’t know why it’s just easier for me to come back where I got lost when I do it with pictures:) If you got the same, here is the best tutorial picture I found for the crane. (Sorry for the language but the notes aren’t really needed if you look at the picture)
FOR FULL INSTRUCTION CLICK THE PICTURE BELOW

Folding Origami- Base.
You need a base to every type of origami. I decided to start origami lessons for this blog only so basically I start with Y’all.
Choose between:
Cupboard base

Kite base (ice-cream)

Fish base

Blintz base

Windmill base

Waterbomb base

Preliminary fold

Bird base (You start with Preliminary fold base)

Frog base (Here also start with Preliminary fold )

Everything you need to know before you start making hand-made notebooks.
I managed to find quick movie that will show shortly all the process of making of the notebook. It’s a short film not a tutorial but sth that can help you realize that sometimes it takes a lot of effort to make a notebook and you shouldn’t give up just because it takes time. It should give you general image of what will you be doing.
+ you can basically watch it with your music on 🙂
Tools needed:
- A bookbinders needle. You can use any large needle really. But you’ll want it larger than a sewing needle.
- Beeswax. While not absolutely necessary it does help with the threading of the signatures.
- A bookbinders awl. Some alternatives: a large needle inserted into a clutch pencil, an old drafting compass needle, an ice pick. Whatever you use you don’t want the holes to be too large because it makes for slop in the pages.
- Traditional bookbinder glue, cooked flour paste, wallpaper paste, white elmers glue, PVA, Aleene’s Tacky Glue etc.
- Xacto knife (and a good surface to cut your paper, i.e. self healing mat, Borco, cardboard, etc.)
- Ruler
- T-square and triangle or some other way to square your cuts
- Heavy books. If you’re really into making your notebooks you could invest in a book press or make your own. (more about that later)
- Pencil
- Bone folder or some really strong fingernails
- Binder clips
About sewing:
I was looking for the best written instructions of sewing step by step and I that one is the best:
http://michaelshannon.us/makeabook/index2.html
And if you prefer watching, the movie tutorial:
Those are instructions for particular notebooks but as you will see some tutorials later it defers in some cases. What I give you is the base.
Gluing:
That also various and some notebooks will be just glued (without sewing the pages) but in most tutorials you put about 2-3 layers of glue to stick the pages.
You shall need sth to weight the glued pages and for those more interested in notebook craft a tutorial about how no make your own book press. Good tutorial about how to make one here:
Covering: Hard covers, paper covers, leathers- about all that later in the posts about particular types of notebooks 🙂
Hope that the post didn’t put you off making DIY notebook and we’ll see each other very soon:)
